How to Remove Headlight Bulb Dodge Caravan
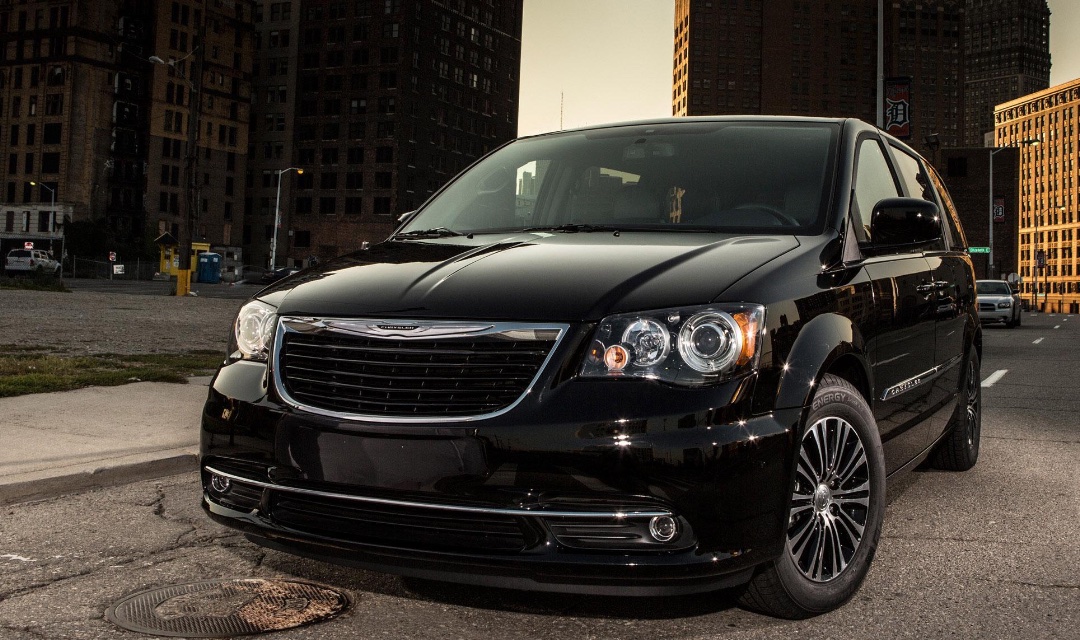
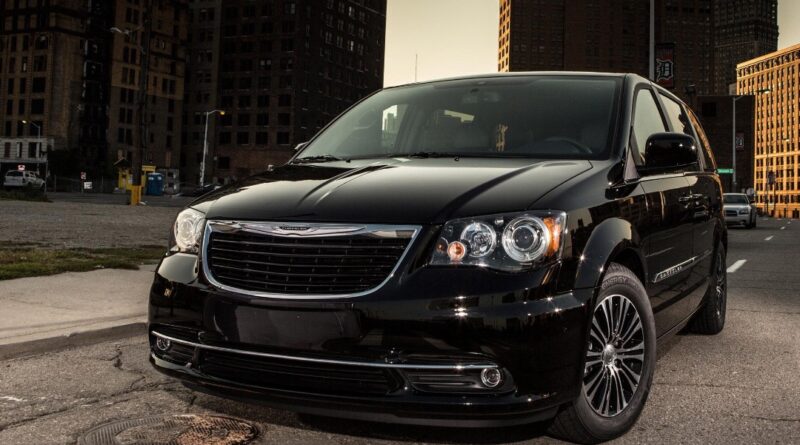
The headlights of a Dodge Caravan minivan serve as a powerful beacon at the front, illuminating the road ahead and enhancing visibility for drivers. To properly maintain and replace the headlight bulb in models like the Dodge Caravan, Grand Caravan, Chrysler Town & Country, and Voyager, it’s important to understand the process of removing the bulb. By carefully disconnecting, and taking off the bulb, you can easily access and replace a light bulb that requires attention. In this guide, we will walk you through the step-by-step procedure, ensuring that you can effortlessly remove the headlight bulb, allowing for optimal performance and a safe driving experience.
Removal – Dodge:
- Disconnect and isolate the battery negative cable to ensure safety during the process.
- Remove the retaining screws of the headlamp unit to gain access.
- Withdraw the headlamp unit, exposing the back of the unit.
- Disconnect the wiring connector from the bulb by sliding the red latch lock rearward and then depressing the release tab.
- Rotate the headlamp bulb retaining ring counter-clockwise.
- Pull out the headlamp bulb and remove it from the headlamp unit.
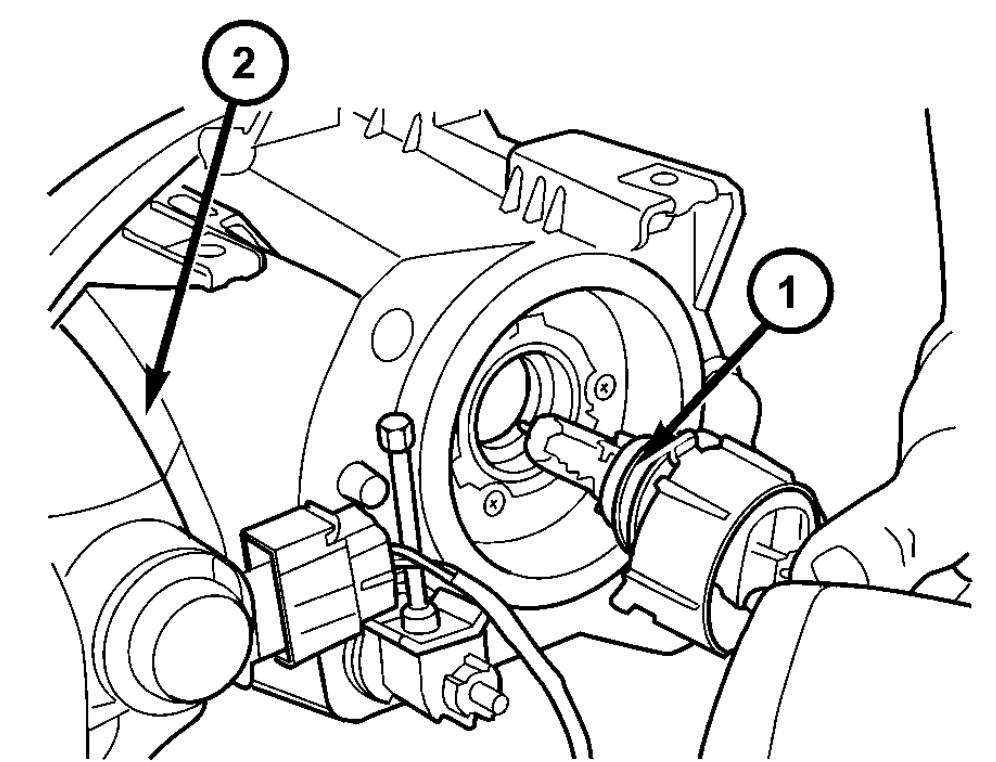
Removal – Chrysler:
- Disconnect and isolate the battery negative cable to ensure safety during the process.
- Remove the retaining screws of the headlamp unit to gain access.
- Withdraw the headlamp unit, exposing the back of the unit.
- Remove the wiring connector from the bulb by sliding the red latch lock rearward and then depressing the release tab.
- Rotate the headlamp bulb retaining ring counter-clockwise.
Installation – Dodge:
- Install the headlamp bulb into the headlamp unit.
- Secure the headlamp bulb by installing the retaining ring.
- Connect the wiring connector to the bulb.
- Install the headlamp unit back into its position.
- Secure the headlamp unit by reinstalling the retaining screws.
- Reconnect the battery negative cable.
Installation – Chrysler:
- Install the headlamp bulb into the headlamp unit.
- Rotate the bulb clockwise to lock it securely in place.
- Connect the wiring connector to the bulb and slide the red latch lock forward to secure it.
- Install the headlamp unit back into its position.
- Secure the headlamp unit by reinstalling the retaining screws.
- Reconnect the battery negative cable.
By following the step-by-step procedures outlined in this guide, you can confidently remove and install headlight bulbs in your Dodge Caravan, Grand Caravan, Chrysler Town & Country, or Voyager. Ensuring clear visibility on the road is crucial for safe driving, and with this guide, you can maintain and replace headlight bulbs effectively. Remember to take the necessary precautions and consult your vehicle’s manual for any specific instructions.

